Migrating your LLM integration from OpenAI to Select.ax is straightforward because the service maintains compatibility with the OpenAI SDK. This allows you to integrate alternative models without rewriting your existing application logic or changing your core client architecture.
In this guide, you will learn how to update your existing codebase to point to the Select.ax API endpoints. By simply modifying your configuration, you can begin utilizing the 'smart-select' model while leveraging your existing OpenAI-compatible wrappers.
Video guide
Prerequisites
- An active account with Select.ax and an API key.
- An existing project using the official OpenAI Python or Node.js SDK.
- Python 3.8+ or Node.js 18+ installed in your development environment.
- Basic knowledge of environment variable management.
Steps
- 1
Install the OpenAI SDK
Ensure you have the latest version of the OpenAI SDK installed in your project. If you are already using OpenAI, you likely have this installed; simply verify the version is current to ensure full compatibility.
- 2
Update Environment Variables
Create a new environment variable for your Select.ax API key. Ensure that your code retrieves this key correctly, keeping it separate from any existing OpenAI credentials to avoid confusion.
- 3
Configure the Client Base URL
Initialize your OpenAI client by explicitly setting the base_url parameter to 'https://api.select.ax/v1'. This redirection overrides the default OpenAI endpoint, routing your requests to the Select.ax infrastructure.
- 4
Specify the Model
Update your API call parameters to use the 'smart-select' model string. Since the API follows OpenAI standards, this parameter is passed directly into the standard completion or chat functions.
- 5
Implement and Test
Run your existing service logic using the new client configuration. Validate that the response object structure matches your expectations, as the Select.ax API maintains standard OpenAI response schemas.
Code
from openai import OpenAI

# Initialize the client pointing to Select.ax
client = OpenAI(
    base_url="https://api.select.ax/v1",
    api_key="YOUR_SELECT_AX_API_KEY"
)

# Execute a request using the smart-select model
response = client.chat.completions.create(
    model="smart-select",
    messages=[{"role": "user", "content": "Explain the benefits of model routing."}]
)

print(response.choices[0].message.content)
Pro tips
Use Environment Variables
Always load your API key from environment variables rather than hardcoding it to keep credentials secure.
Verify Model Compatibility
If you use custom system prompts, test them against the 'smart-select' model to ensure they align with the expected behavior.
Monitor Latency
Compare response times between providers after switching to ensure the new endpoint meets your latency requirements.
Visual guide
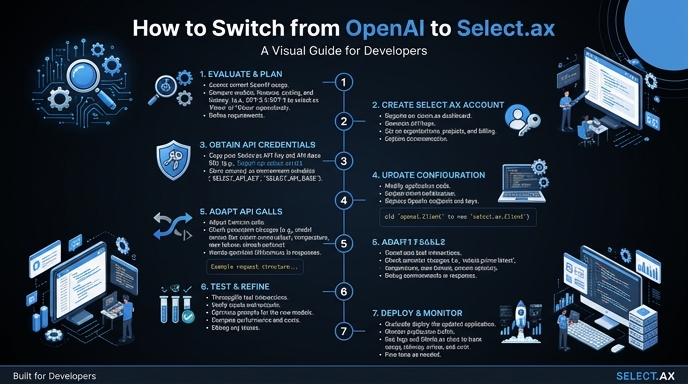
Route your models intelligently
Use one API key for routing, fallback, and cost control across model providers.
Route your models intelligently — try Select