Select.ax provides a specialized inference endpoint designed for intelligent data routing and selection tasks. By integrating it into your TypeScript projects, you can leverage structured, high-performance model responses to handle complex decision-making logic without managing local model state.
This guide demonstrates how to configure the standard OpenAI client to communicate with the Select.ax API. You will learn how to initialize the client with the correct base URL, model, and authentication, enabling seamless integration into your existing backend services or tooling pipelines.
Prerequisites
- Node.js installed (v18 or higher recommended).
- An existing TypeScript project set up with ts-node or a build step.
- A valid Select.ax API key.
- The 'openai' npm package installed in your project.
Steps
- 1
Install the Required Dependency
Initialize your project if you haven't already, then install the official OpenAI Node.js SDK using npm or yarn. This library serves as the standard interface for interacting with compatible inference APIs.
- 2
Configure the Client Instance
Import the OpenAI class from the package and instantiate it with your API key. Crucially, set the baseURL parameter to 'https://api.select.ax/v1' to point the client toward the correct infrastructure.
- 3
Construct the Request Payload
Create an object containing the model name 'smart-select' and your prompt messages array. Ensure the messages follow the standard chat completion format, as the API expects valid JSON structure.
- 4
Execute the Completion Call
Use the chat.completions.create method to send your request to the API. Wrap this call in an async function to handle the response properly using await.
- 5
Handle the Response Data
Access the content of the response object returned by the API. Parse this data according to your application logic to utilize the intelligent selection output.
Code
import OpenAI from 'openai';

const client = new OpenAI({
  apiKey: process.env.SELECT_AX_API_KEY,
  baseURL: 'https://api.select.ax/v1',
});

async function main() {
  const completion = await client.chat.completions.create({
    model: 'smart-select',
    messages: [{ role: 'user', content: 'Select the best model for this task.' }],
  });

  console.log(completion.choices[0].message.content);
}

main().catch(console.error);
Pro tips
Environment Variables
Always load your API key from process.env to prevent hardcoding sensitive credentials in your source control.
Type Safety
Define an interface for your expected response structure to ensure TypeScript correctly infers the returned data types.
Error Handling
Wrap your API calls in try-catch blocks to gracefully handle network failures or invalid API key authentication errors.
Visual guide
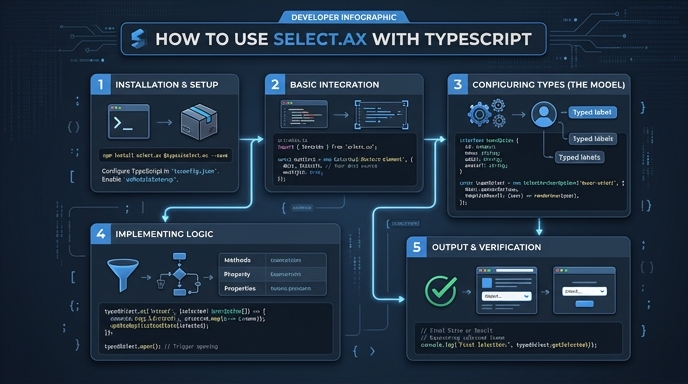
Route your models intelligently
Use one API key for routing, fallback, and cost control across model providers.
Route your models intelligently — try Select